Preslav Rachev
Table of Contents
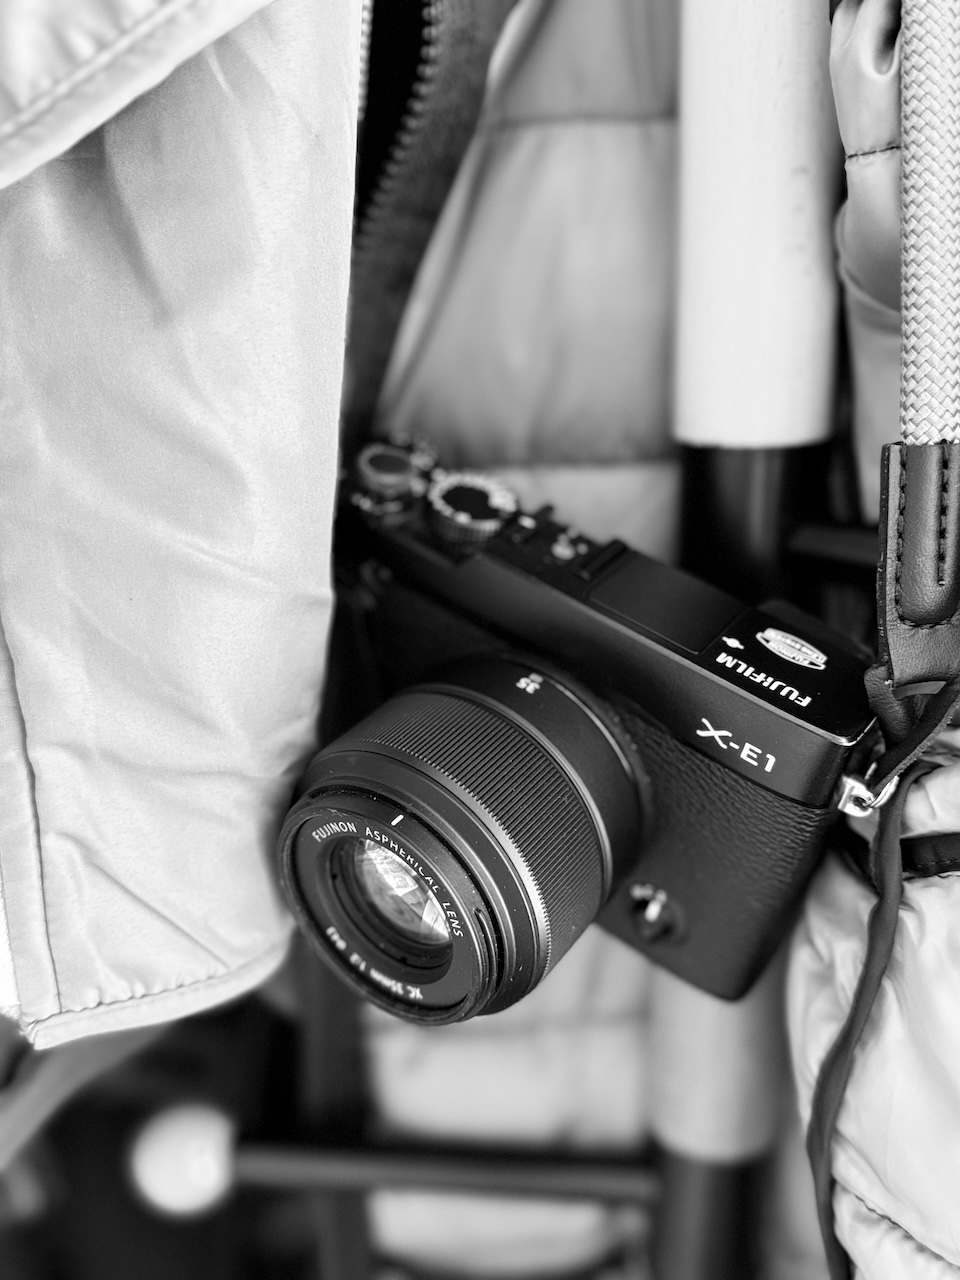
Ever since I’ve started using Fujifilm’s old-but-gold XE-1 as my go-to camera for most situations, I’ve been seeing fewer and fewer reasons to shoot RAW and instead rely on the in-camera JPEGs. The colors and tones are just so pleasing straight out of the camera that I often find myself not needing to do much post-processing.
One of the reasons I love shooting JPEGs with my XE-1 is the variety of film simulations available. Fujifilm has done an incredible job of replicating the look and feel of classic film stocks, and I find myself gravitating towards certain simulations depending on the mood or subject of my photos. Of course, a 13-year-old camera won’t have the latest sims, especially the highly regarded Classic Chrome and Classic Negative, but taking one of the older ones and tweaking it a bit can yield fantastic results.
The Internet is full of the so-called “recipes” - adjustments on top of Fuji’s default simulations, so it will be a shame to not mention Fuji X Weekly here. It has been a source of great inspiration for all of us. Of course, if you have a camera with a modern X-Trans sensor, or at least, one that comes with Classic Chrome included, you can take advantage of the full range of recipes. But don’t worry — there are a few good ones for those with older X-Trans generations as well.
Here are the recipes I currently carry on my XE-1:
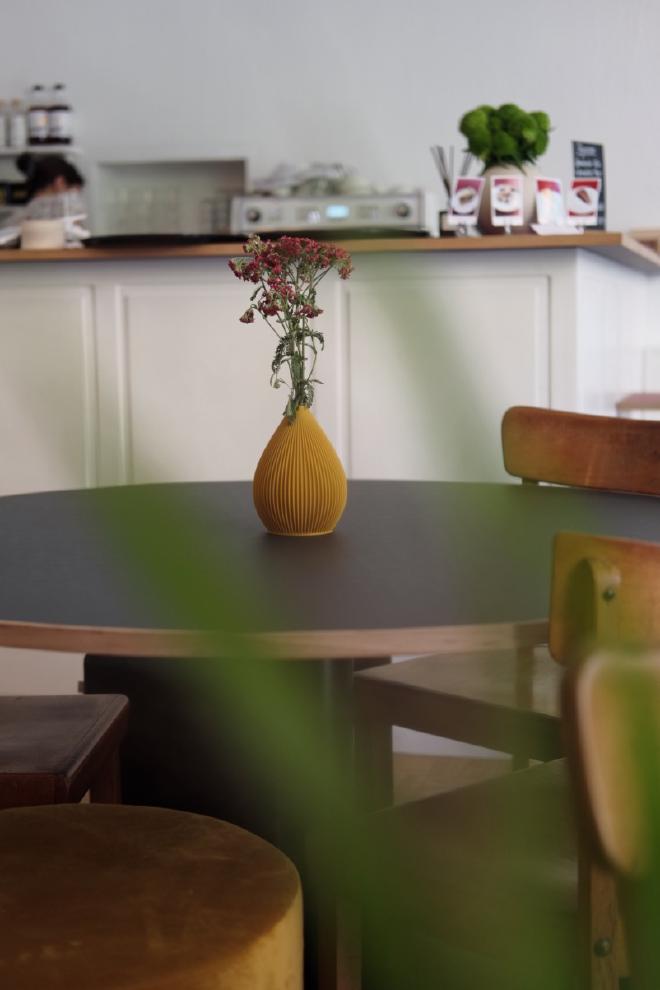
Classic Chrome for X-Trans I #
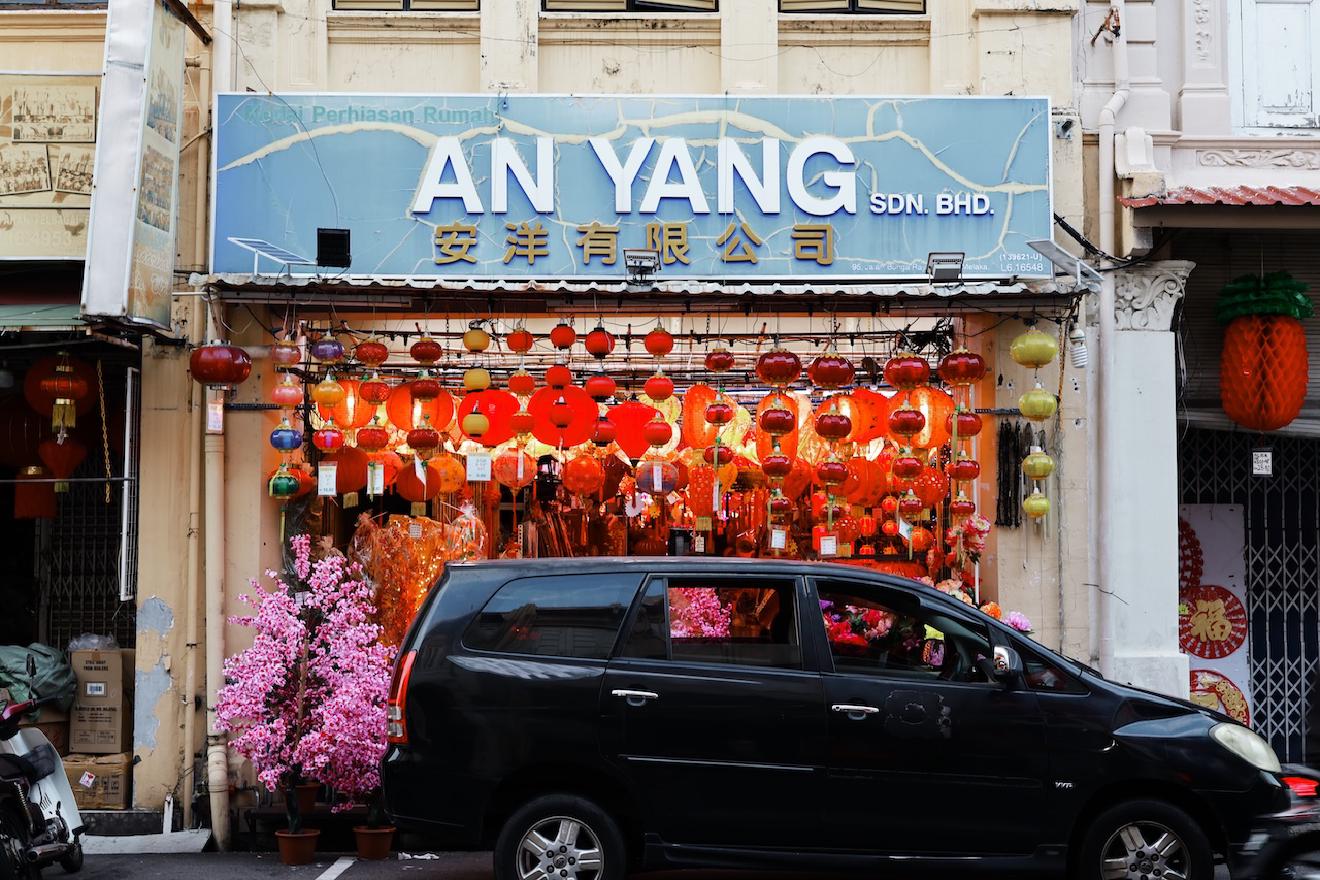
This one I took directly from Fuji X Weekly. Since Classic Chrome is not available on the XE-1, it’s closest I can get to, but I must say, I absolutely love it. No wonder, it’s my default setting for most photos.
The Settings #
| Setting | Value |
|---|---|
| Film Simulation | PRO Neg. Std |
| Dynamic Range | DR200 |
| Highlight | +1 |
| Shadow | +1 |
| Color | +1 |
| Sharpness | 0 |
| Noise Reduction | -2 |
| White Balance | Auto, 0 Red & -1 Blue |
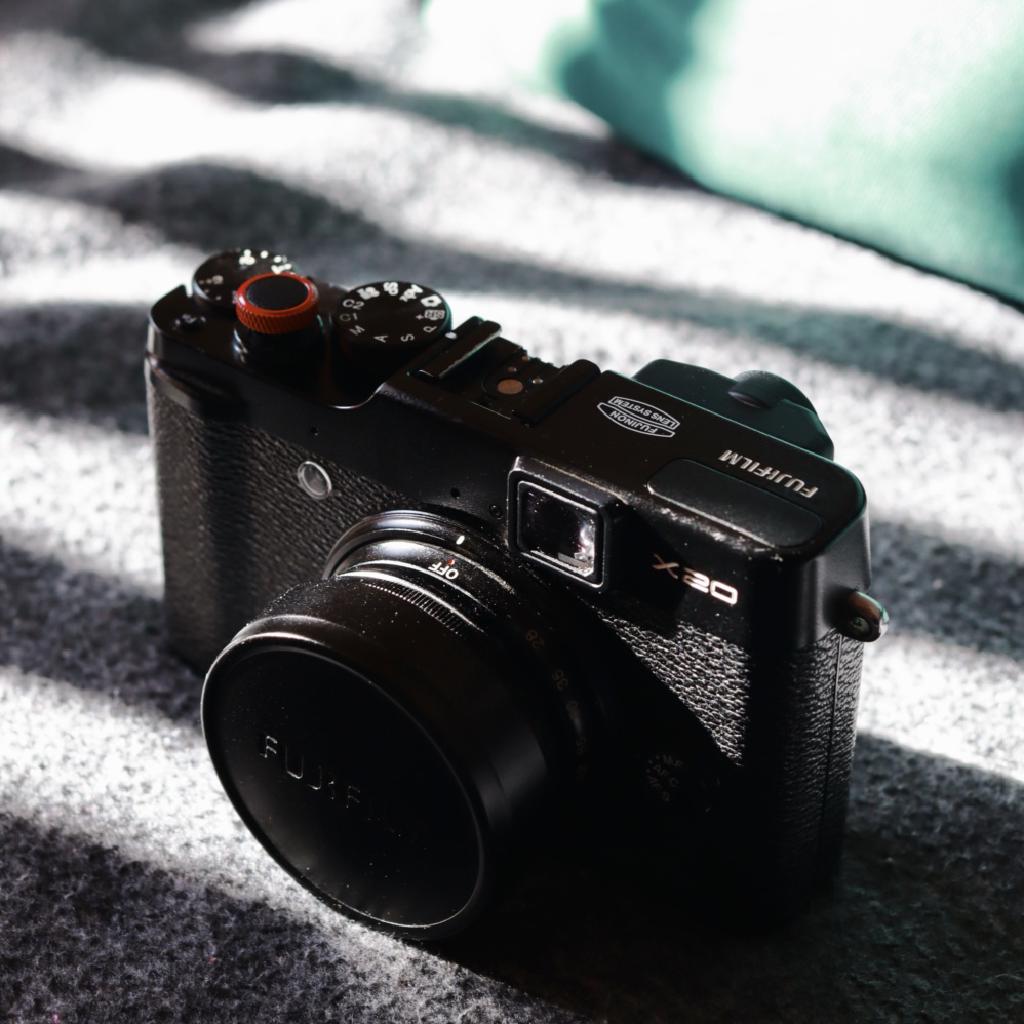
Faux Acros #
Along with Classic Chrome, Fujifilm’s Acros is also not available on older cameras. What we do have are variations of black and white, depending on the color filter that is used. A yellow filter is a good all-around choice for black and white photography for many reasons:
- It darkens blue skies slightly, making clouds pop more against the background.
- Lightens red/orange tones in skin tones, making them appear more natural.
- Has all the advantages of a red filter, without being totally in-your-face.
I won’t go into the physics of how light filters work, but basically, different filters block different wavelengths of light (looking at you, blue light), which affects how colors are rendered in black and white photography.

The Settings #
| Setting | Value |
|---|---|
| Film Simulation | Monochrome/BW with Yellow Filter |
| Dynamic Range | DR100 |
| Highlight | +2 |
| Shadow | +2 |
| Color | 0 |
| Sharpness | -1 |
| Noise Reduction | -2 |
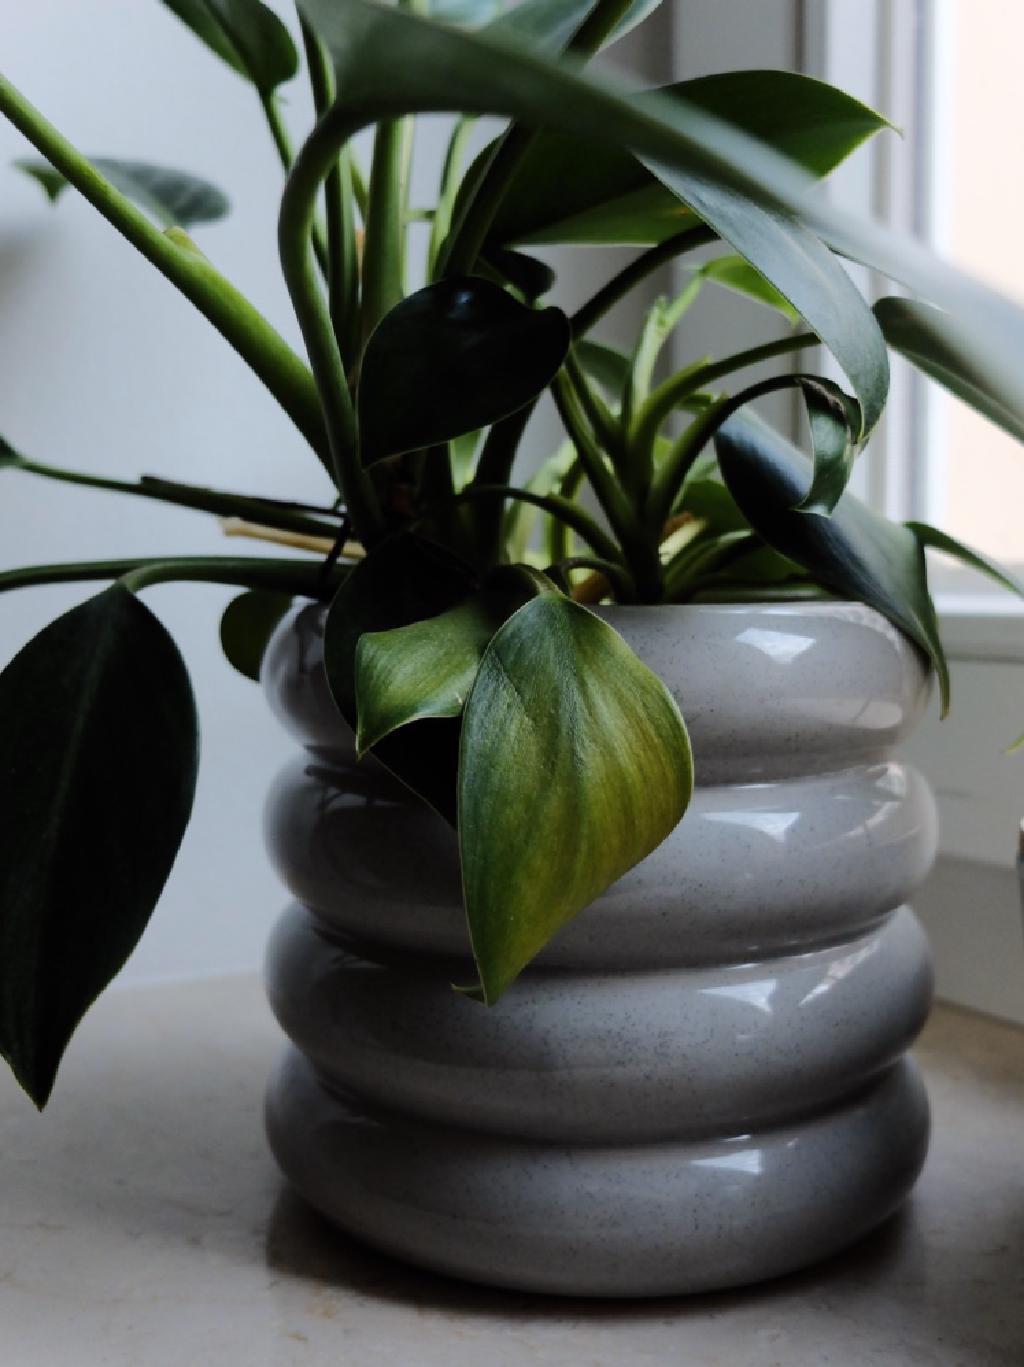
Astia With Minimal Adjustments #
Astia (also known as “Soft”, although, there is nothing softa about it) is by far my favorite default film simulation. If we go back in time to the days when the original Astia was released, it was marketed as a film stock that produced soft, muted colors, especially for skin tones. It was often used for portrait photography, but to me, it’s a great all-rounder, especially, for when you take photos in nature. I found that with a few minimal tweaks, it can match my taste even better.

The Settings #
As you can see, the adjustments are minimal, mostly, copied from the Classic Chrome recipe. I like adding DR to all my recipes, as it helps retain more details in highlights and shadows (your ISO will suffer slightly, but I haven’t been in a situation until now, where it was a problem).
| Setting | Value |
|---|---|
| Film Simulation | Astia (Soft) |
| Noise Reduction | -2 |
| Dynamic Range | DR200 |
| White Balance | Auto, 0 Red & -1 Blue |
So, those were the three recipes I currently carry on my XE-1. Hope, you find them useful, and can tweak them to your liking.
Have something to say? Join the discussion below 👇
Want to explore instead? Fly with the time capsule 🛸
You may also find these interesting
Got Bitten by the Fuji Bug
Despite telling myself countless times that I won’t fall for the social media hype, I got bitten by the Fujifilm bug, too.
Cinematic Color Negative: A Nostalgic Picture Profile for Canon Cameras
Add a filmic, nostalgic look to your Canon photos. Give new life to your Canon camera, and achieve great results, without spending hours editing your photos.
How to Apply Unsupported Simulations on Older Fujifilm Cameras
Get that Classic Chrome look on every photo with this little trick.
The Cinematic Color Negative Made It All the Way to Malaysia
A proof that small niche tools can make impact.